Building a Conservatory Greenhouse from Solexx is not only an exciting endeavor but also a rewarding one. Among the range of Solexx greenhouse models, the Conservatory Greenhouse stands out for its blend of functionality and aesthetics.
One of our customers shared images detailing the assembly process, offering a glimpse into the various steps involved in building this greenhouse model. Let’s take a closer look at just how enjoyable and straightforward the assembly process can be.
Preparing the Foundation and Building the Frame
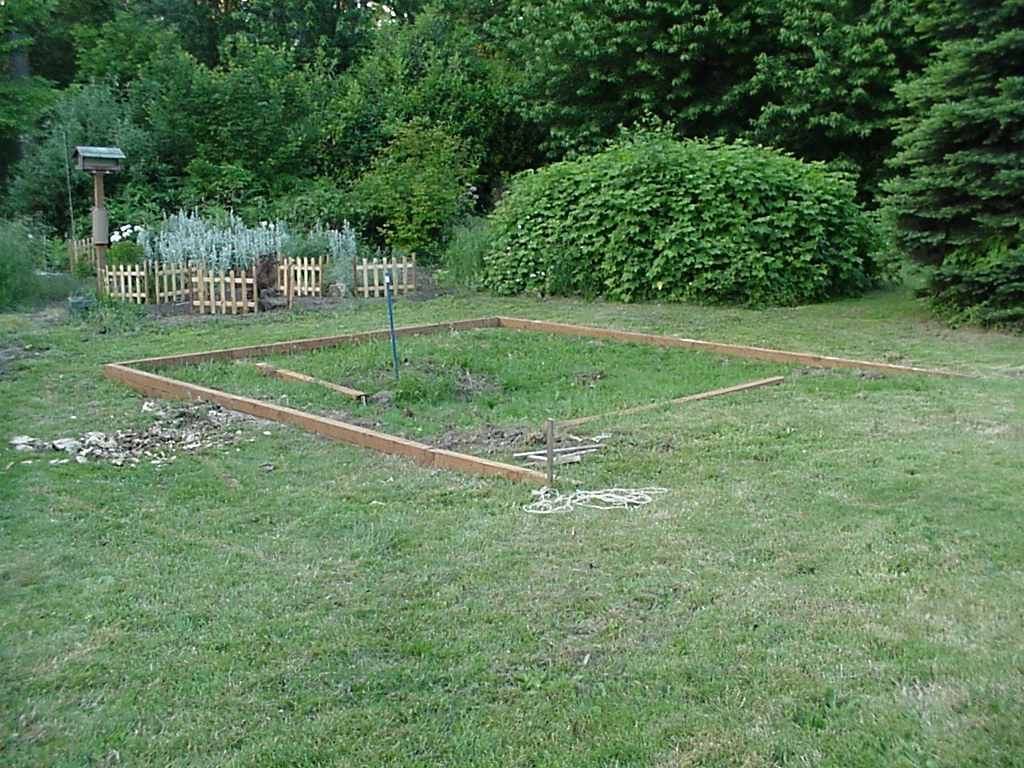
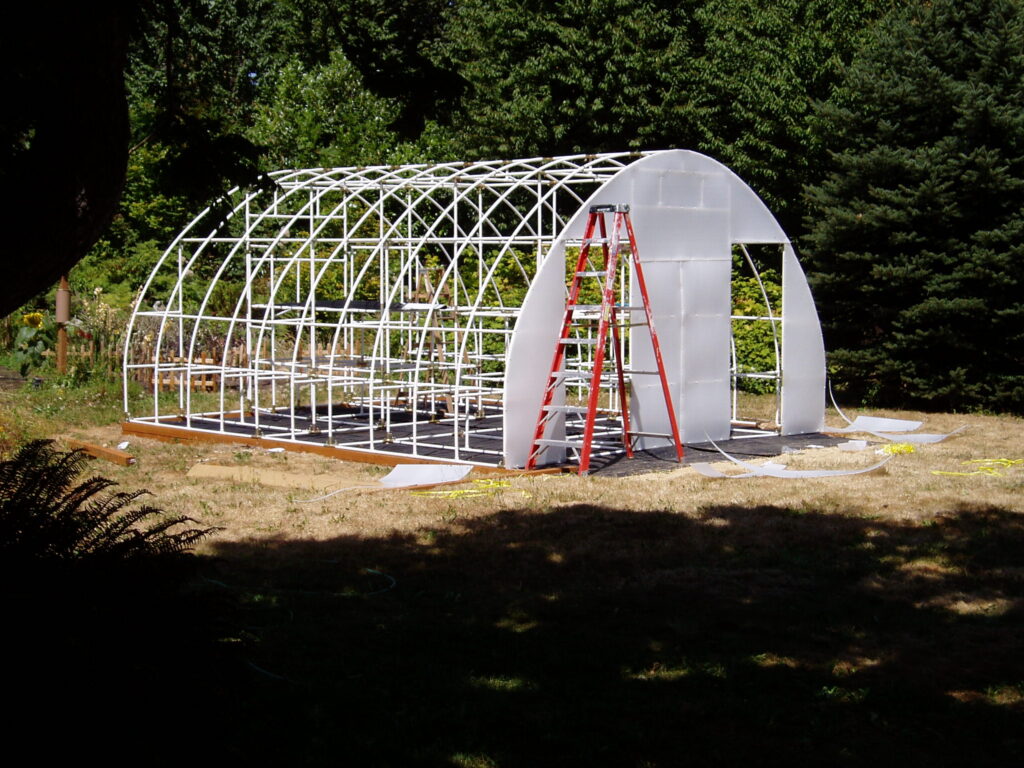
To get started, the customer used railroad ties to create a level greenhouse foundation. The ground is slightly sloped and levels out perfectly at the front of the greenhouse.
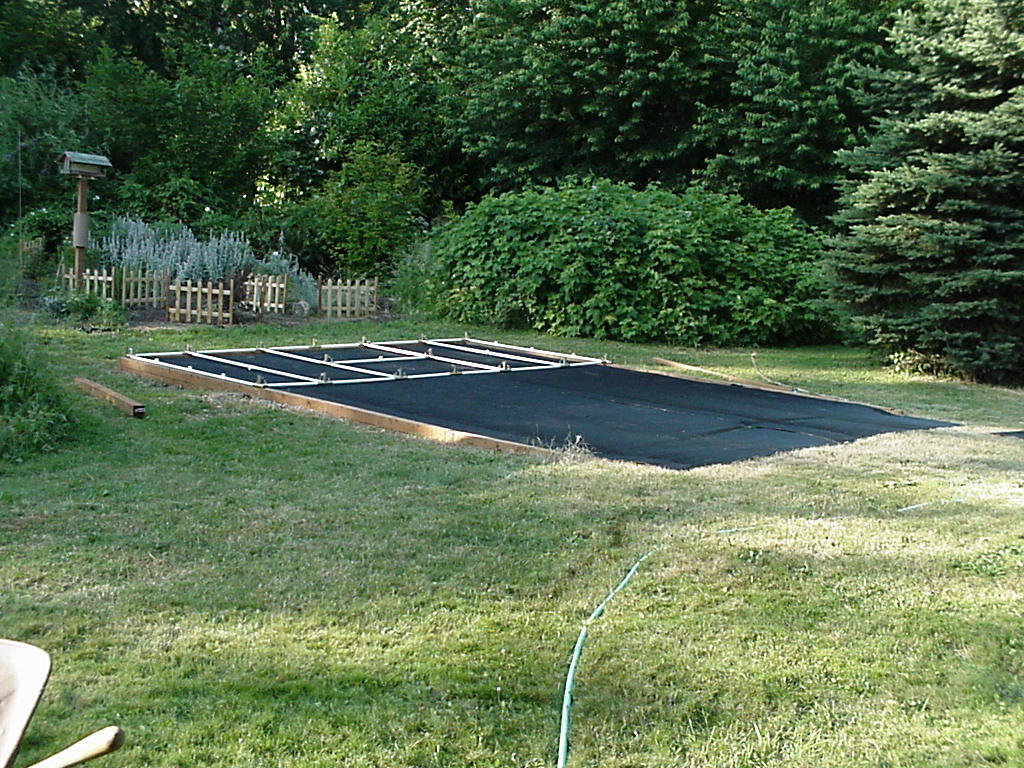
Before assembling the frame, they laid down black weed-blocking material on the greenhouse floor. In the picture above, the assembly of the greenhouse base frame, composed of composite tubing and steel fittings, is now complete.

The frame of the first greenhouse section is complete!
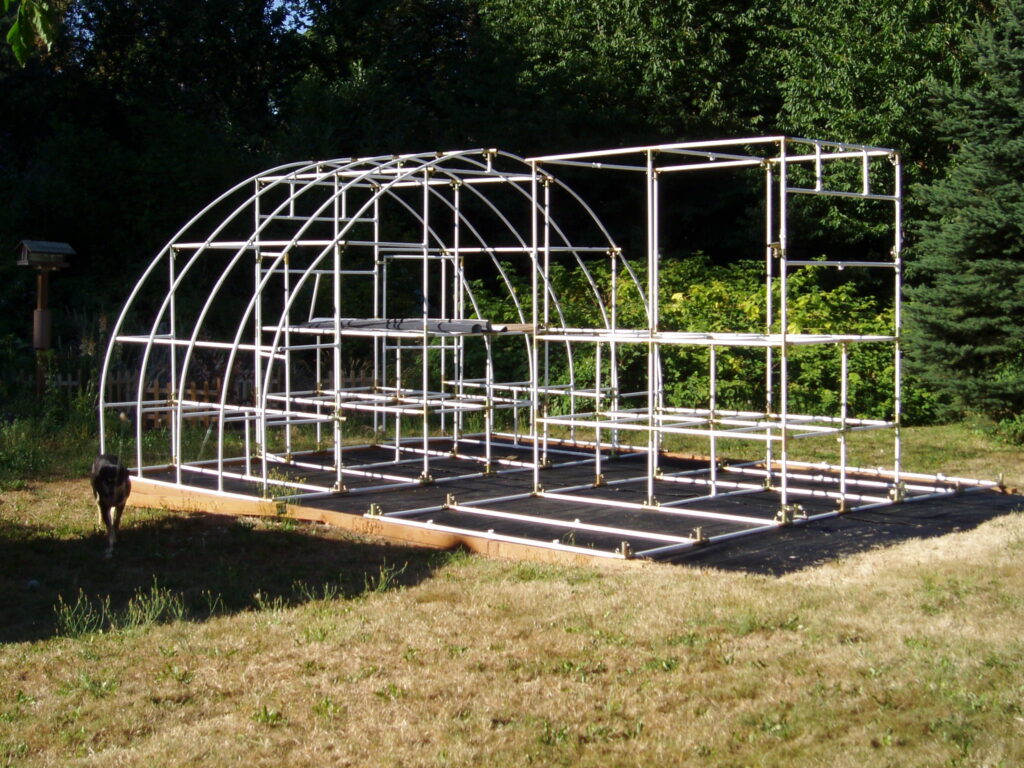
The second greenhouse frame is underway. This conservatory greenhouse will be 20 feet long and 16 feet wide when complete.
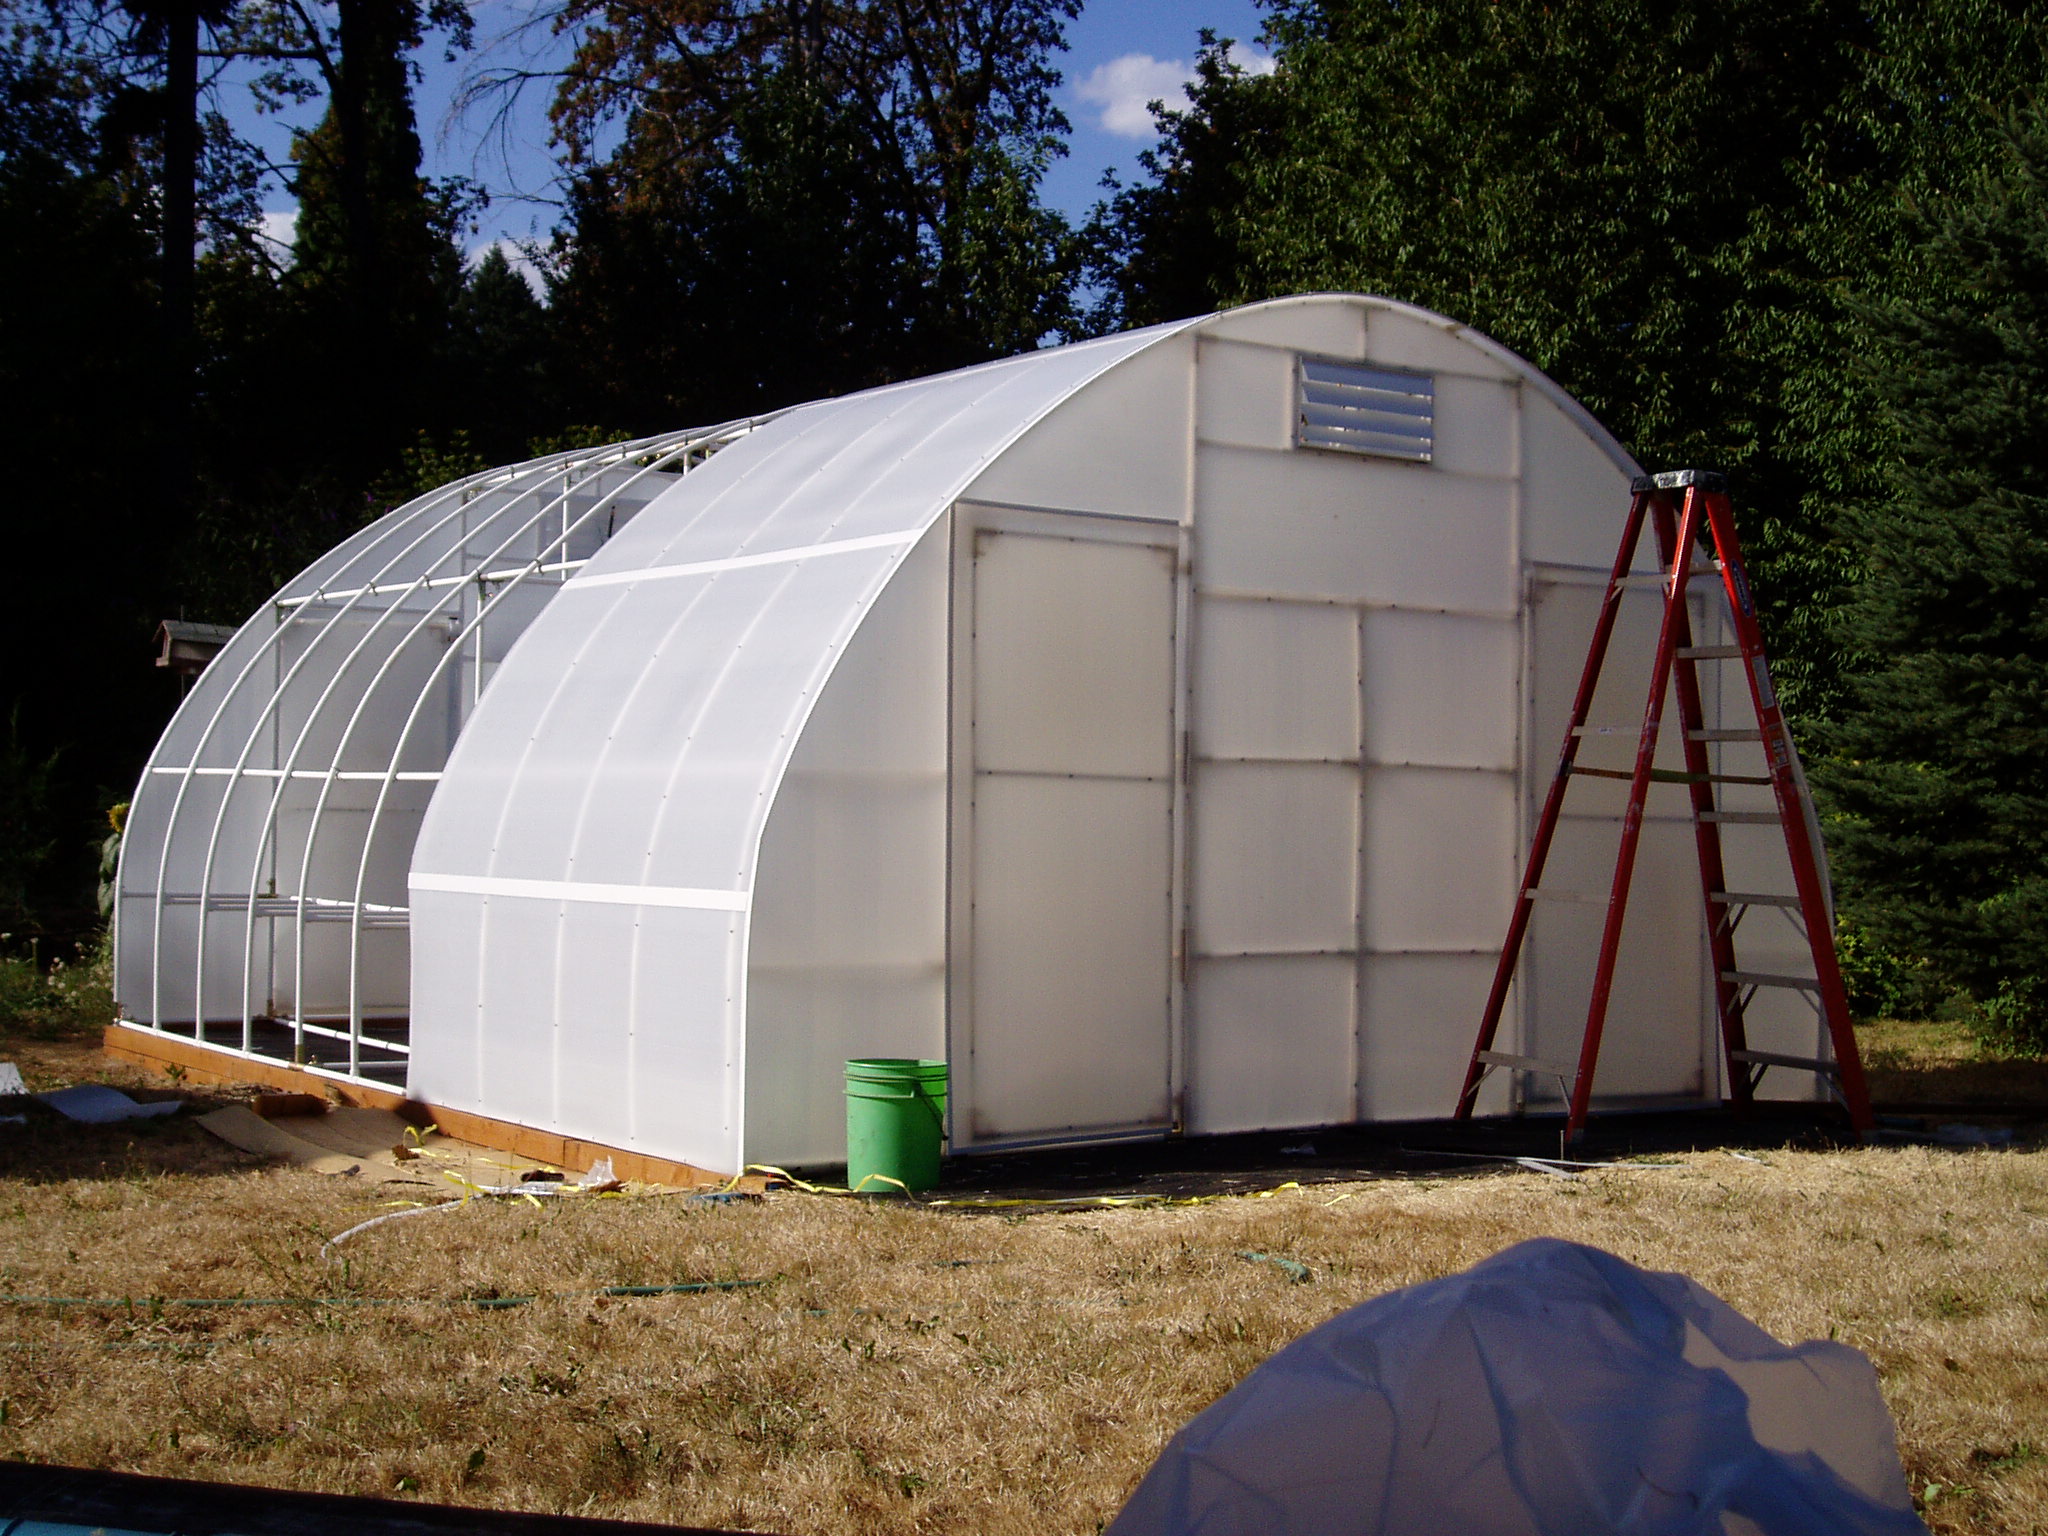
Attaching the Solexx Greenhouse Panels
They securely attached the Solexx greenhouse covering material to the front end wall of the greenhouse using screws. Carefully following the greenhouse frame, they then trimmed the material with a knife for a precise fit.
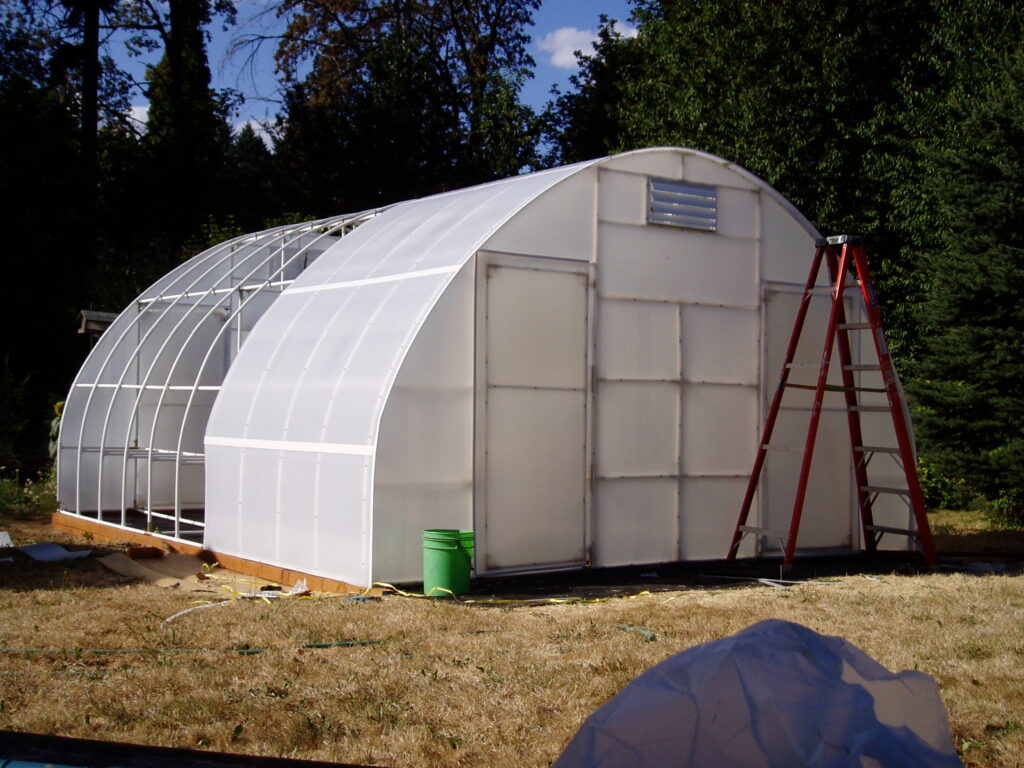
They have finished paneling the greenhouse end walls, and attached the roof panels have been to one end of the greenhouse.
Completing the Inside of the Greenhouse
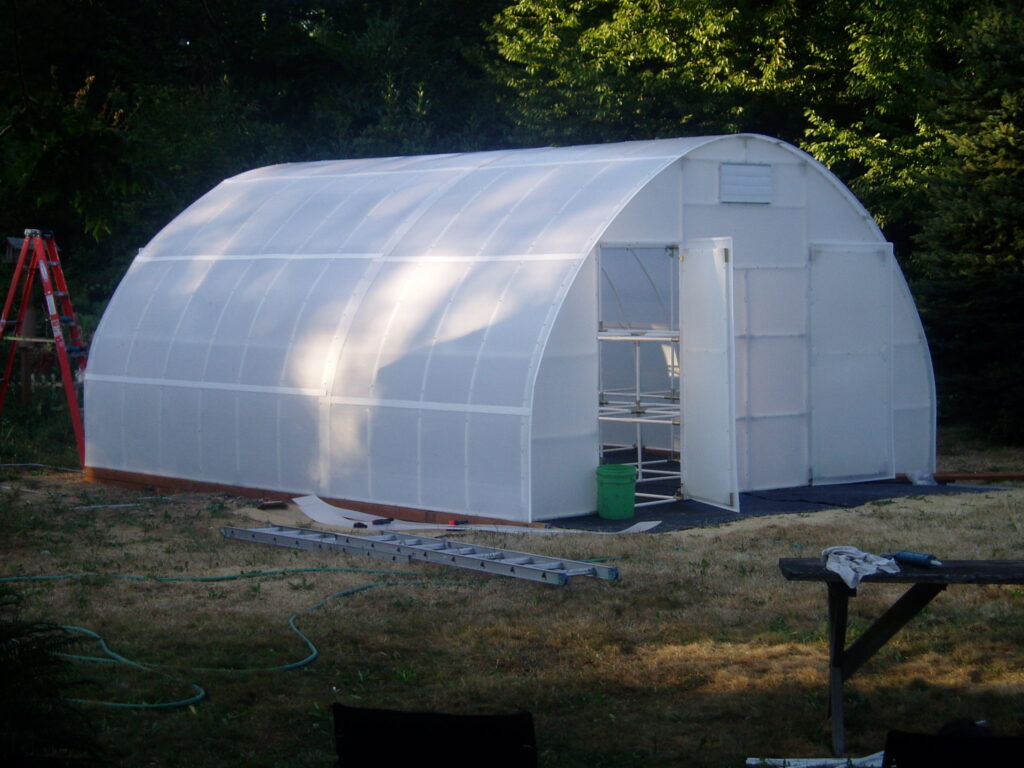
The greenhouse kit assembly is complete! Now for the finishing touches.
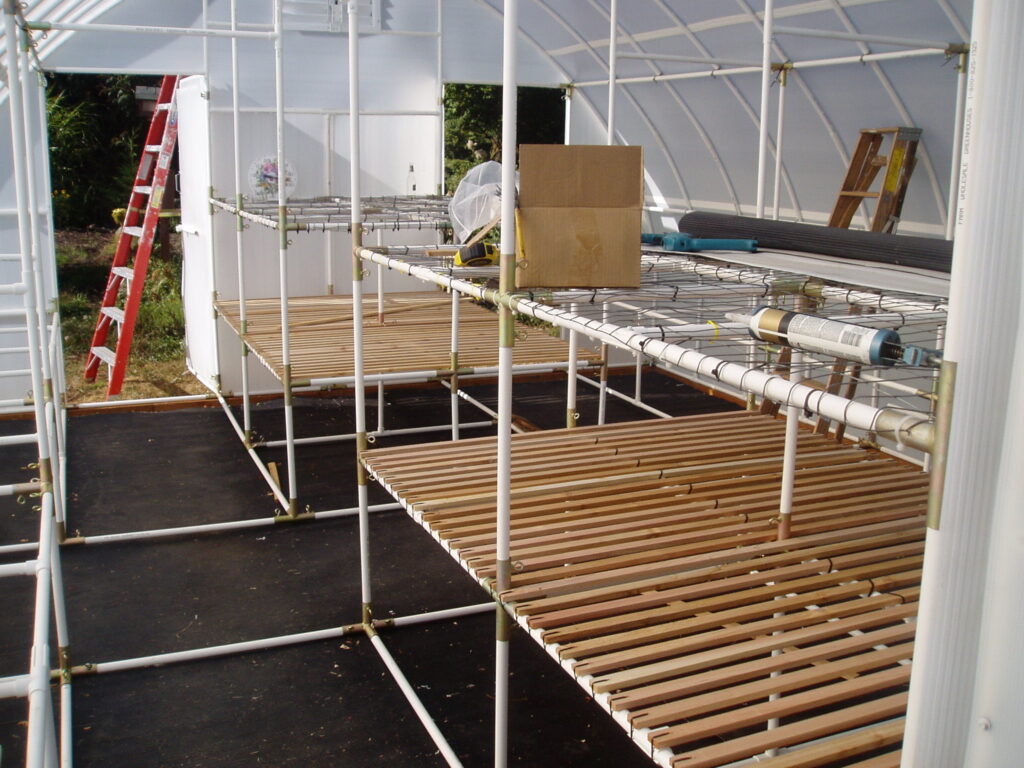
Inside the Solexx Conservatory Greenhouse, you’ll find two large double-tiered bench frames, each measuring 5 feet wide by 8 feet long. Customers have the option to purchase and use metal wire tops from Solexx or create their own bench tops. In this case, the customer opted for wood slats for the bench tops. Additionally, they installed plastic wire mesh on the top bench to support plant growth from below.
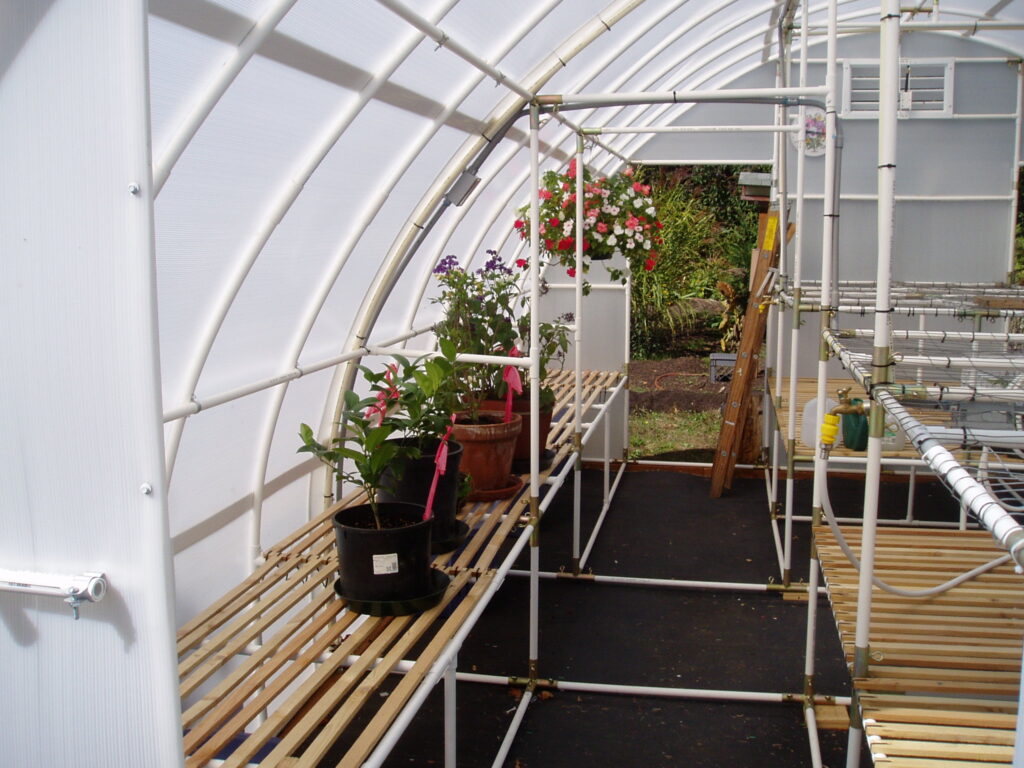
They used wooden slats on the tops of the side shelves, enhancing their functionality and aesthetic appeal. The 29″ deep side shelves span the full 20-foot length of the greenhouse, providing ample space for a wide variety of plants.
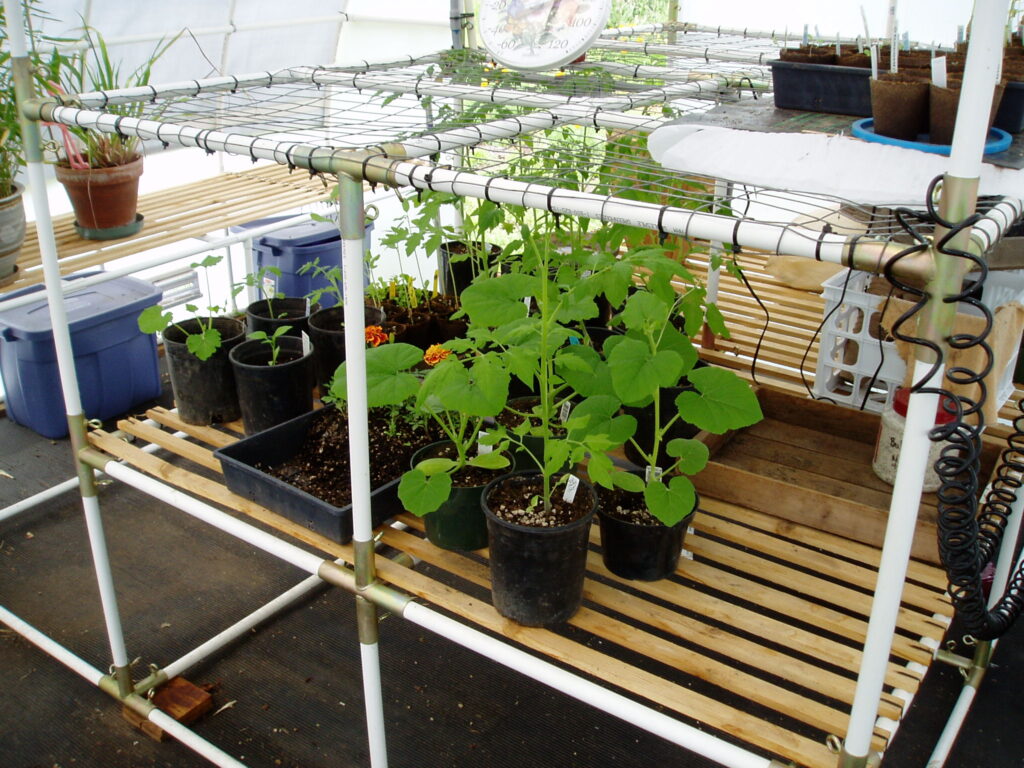
Trellising plants will grow up from the bottom shelf and support themselves on the mesh above.
The Conservatory Greenhouse is a customer favorite. At over nine feet tall, it is roomy and spacious. The bright light in the greenhouse structure allows for the growth of seedlings, vining plants, tomatoes, and even trees.
Leave a Reply